Troubleshooting Tailcap Issues in Flashlights
Understanding Tailcaps in Flashlights
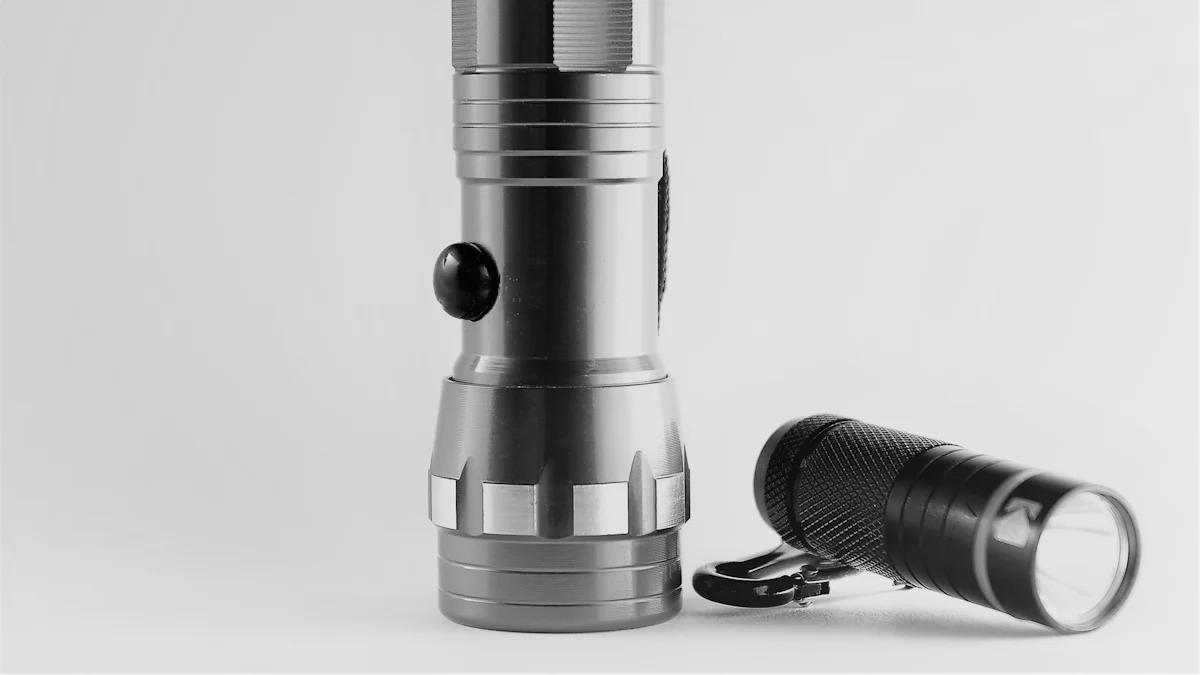
When it comes to understanding flashlights, the tailcap plays a crucial role. What exactly is a tailcap? Well, it's the end of the flashlight that's opposite to the lens. This is where the switch is often located, allowing for easy one-handed operation.
The importance of a properly functioning tailcap cannot be overstated. It ensures that the flashlight can be easily turned on and off, providing convenience and reliability in various situations.
Common Tailcap Issues and Their Symptoms
Tailcaps are essential for the proper functioning of flashlights, but they can experience issues that affect their performance. Here are some common tailcap issues and their symptoms:
Loose Tailcap Connections
One of the most frequent problems with tailcaps is loose connections. This occurs when the tailcap is not securely fastened to the body of the flashlight. Symptoms of a loose connection include:
Intermittent flickering of the light
Inconsistent operation when using the switch
Difficulty maintaining a steady beam
Dirt and Debris Build-up
Another issue that can arise with tailcaps is the accumulation of dirt and debris. When dirt finds its way into the tailcap, it can interfere with the electrical connections, leading to malfunctioning. Symptoms of dirt and debris build-up include:
Diminished brightness or erratic output
Difficulty in turning the flashlight on or off
Unusual sounds when operating the switch
Worn-Out Tailcap Switch
Over time, the tailcap switch may wear out due to frequent use. Recognizing a failing switch involves observing these symptoms:
The switch feels loose or wobbly.
The light flickers or fails to turn on consistently.
Audible clicking noises when using the switch.
These issues can significantly impact the overall functionality of a flashlight, making it crucial to address them promptly.
Step-by-Step Guide to Fixing Tailcap Problems
Tightening a Loose Tailcap
When dealing with a loose tailcap, it's essential to address the issue promptly to ensure the proper functioning of the flashlight. Here's a step-by-step guide on how to tighten a loose tailcap:
Tools Needed
Small Screwdriver: Ensure it fits the screws on the tailcap securely.
Rubbing Alcohol: Use it to clean the tailcap and remove any dirt or debris.
The Tightening Process
Remove the Tailcap: Unscrew the tailcap from the body of the flashlight carefully.
Inspect for Debris: Check for any dirt or debris inside the tailcap and clean it using rubbing alcohol and a cotton swab if necessary.
Tighten the Screws: Using a small screwdriver, carefully tighten any visible screws on the tailcap. Be cautious not to overtighten, as this may cause damage.
By following these simple steps, you can effectively address a loose tailcap and restore proper functionality to your flashlight.
Cleaning the Tailcap
Regular cleaning of the tailcap is crucial in preventing issues caused by dirt and debris build-up. Here's how you can safely clean the tailcap:
Safe Cleaning Methods
Disassemble Carefully: Remove the tailcap from the flashlight body, ensuring not to lose any small components.
Use Rubbing Alcohol: Dampen a cotton swab with rubbing alcohol and gently clean both the interior and exterior of the tailcap.
Allow Drying Time: After cleaning, allow the tailcap to air dry completely before reassembling it onto the flashlight.
Preventing Damage During Cleaning
Avoid using excessive force when disassembling or reassembling components.
Ensure that all parts are completely dry before reattaching them to prevent electrical issues.
Replacing a Worn-Out Switch
If your flashlight's switch is showing signs of wear, replacing it is often necessary for restoring optimal performance.
Identifying The Right Replacement
Check Flashlight Model: Identify your flashlight model and search for compatible replacement switches online or at hardware stores.
Consult Manufacturer Guidelines: Refer to your flashlight's user manual or manufacturer's website for specific replacement recommendations.
The Replacement Procedure
Careful Disassembly: Follow manufacturer guidelines for disassembling your flashlight to access and replace the worn-out switch.
Secure Installation: Ensure that the new switch is securely installed according to provided instructions.
Following these steps will help you effectively replace a worn-out switch, ensuring that your flashlight operates smoothly once again.
Preventing Future Tailcap Issues
After addressing tailcap issues, it's essential to implement preventive measures to ensure the continued functionality of your flashlight. Here are some tips for preventing future tailcap issues:
Regular Maintenance Tips
Routine cleaning is crucial for preventing dirt and debris build-up in the tailcap. Use a soft cloth or cotton swab dampened with rubbing alcohol to gently clean the interior and exterior of the tailcap. Additionally, periodic tightening of the tailcap screws can help maintain secure connections and prevent flickering or inconsistent operation.
Choosing Quality Flashlights
When selecting a flashlight, pay attention to the design and quality of the tailcap. Look for flashlights with durable and well-constructed tailcaps that provide secure connections and reliable switch operation. It's also beneficial to consider reputable brands known for producing high-quality flashlights with dependable tailcaps.
What to Look for in a Tailcap
Secure Connection: Ensure that the tailcap provides a snug fit to the body of the flashlight, minimizing the risk of loose connections.
Reliable Switch Operation: Look for a tailcap switch that offers smooth and consistent operation, allowing for easy one-handed use.
Recommended Brands or Models
Streamlight: Known for their durable construction and reliable performance, Streamlight flashlights often feature robust tailcaps designed for long-term use.
Fenix: Fenix flashlights are recognized for their high-quality components, including sturdy tailcaps that contribute to overall reliability.
By following these maintenance tips and making informed choices when purchasing flashlights, you can minimize the occurrence of future tailcap issues and ensure prolonged functionality.
2024/5/8
See Also
Vital Maintenance Tips for Flashlights
Comprehending Rechargeable Flashlight Discharge
Defining the Tactical Flashlight Concept
