How to Replace a Scratched or Damaged Flashlight Lens
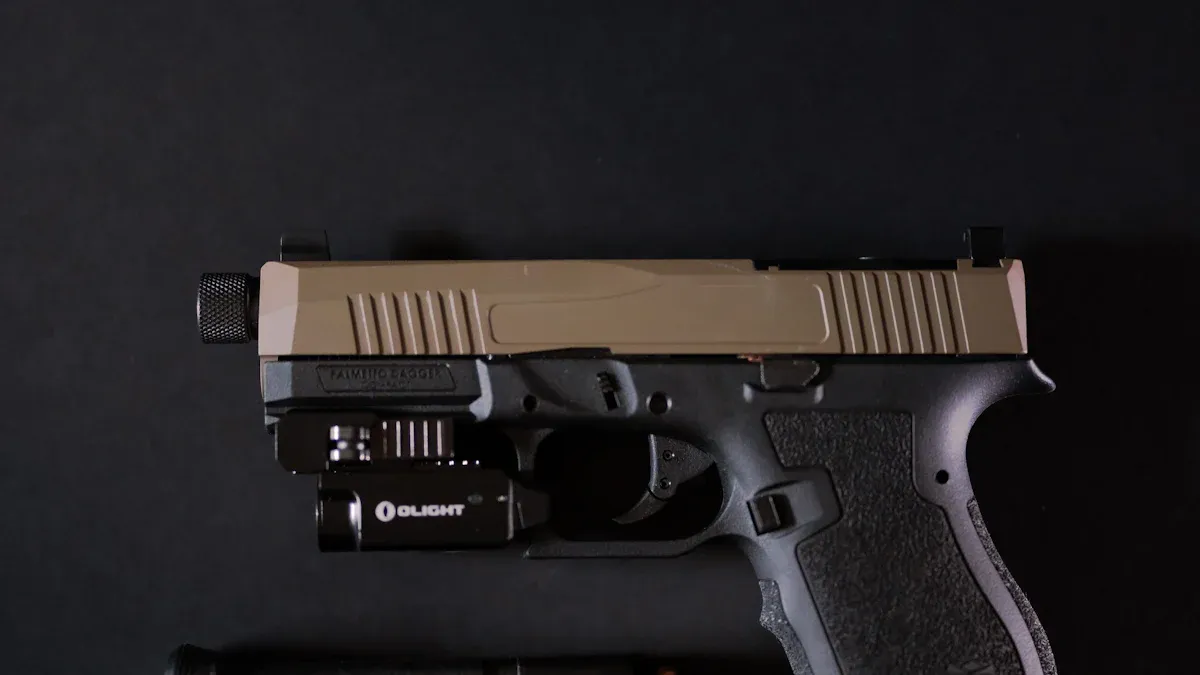
Have you noticed scratches on your flashlight lens? They can make the beam dim and uneven. Luckily, you don’t need to replace the whole flashlight. A simple DIY repair can fix the problem. Whether it’s your trusty helius flashlight or another model, swapping out the damaged lens is quick and easy.
Key Takeaways
Get tools like a strap wrench and circlip pliers first. Being ready makes replacing the flashlight lens easier and safer.
Pick a new lens that fits your flashlight model well. The right lens gives better performance and a bright beam.
Wipe the flashlight housing clean before putting in the new lens. A clean surface helps the lens stay in place and work well.
Tools and Materials Needed
Essential Tools for Replacing a Flashlight Lens
Before you start your DIY repair, gather the right tools. Having the proper equipment makes the process smoother and prevents accidental damage to your flashlight. Here’s a list of tools you’ll need:
Opening tools:
Strap wrench for loosening tubes and bezels.
Circlip pliers for handling bezels and tail caps.
Camera lens spanner wrench for unscrewing tricky parts.
Hemostat forceps for gripping small components.
Emitter swap tools:
Tweezers for moving wires and LEDs.
Soldering iron for any electrical adjustments.
LED dedoming/cutting tools:
Feather blade for precise cutting.
These tools are commonly used for flashlight repairs and will help you safely remove and replace the lens.
Materials to Replace a Scratched Lens
You’ll also need a few materials to complete the replacement. First, get a replacement lens that matches your flashlight model. You can find these online or at specialty stores. Next, have a microfiber cloth and some isopropyl alcohol ready. These will help you clean the flashlight’s housing and ensure the new lens fits perfectly. If your flashlight uses a gasket or O-ring, inspect it for wear and replace it if necessary.
Choosing the Right Lens for Your Helius Flashlight
If you’re working on a helius flashlight, make sure you choose a lens designed specifically for it. Check the flashlight’s manual or look up the model number online to find compatible options. A high-quality lens will restore your flashlight’s performance and ensure a clear, bright beam. Avoid generic lenses that might not fit properly or reduce light output.
Tip: Always double-check the lens size before purchasing a replacement. A mismatched lens can cause more problems than it solves.
Step-by-Step Guide
Step 1: Remove the Scratched or Damaged Lens
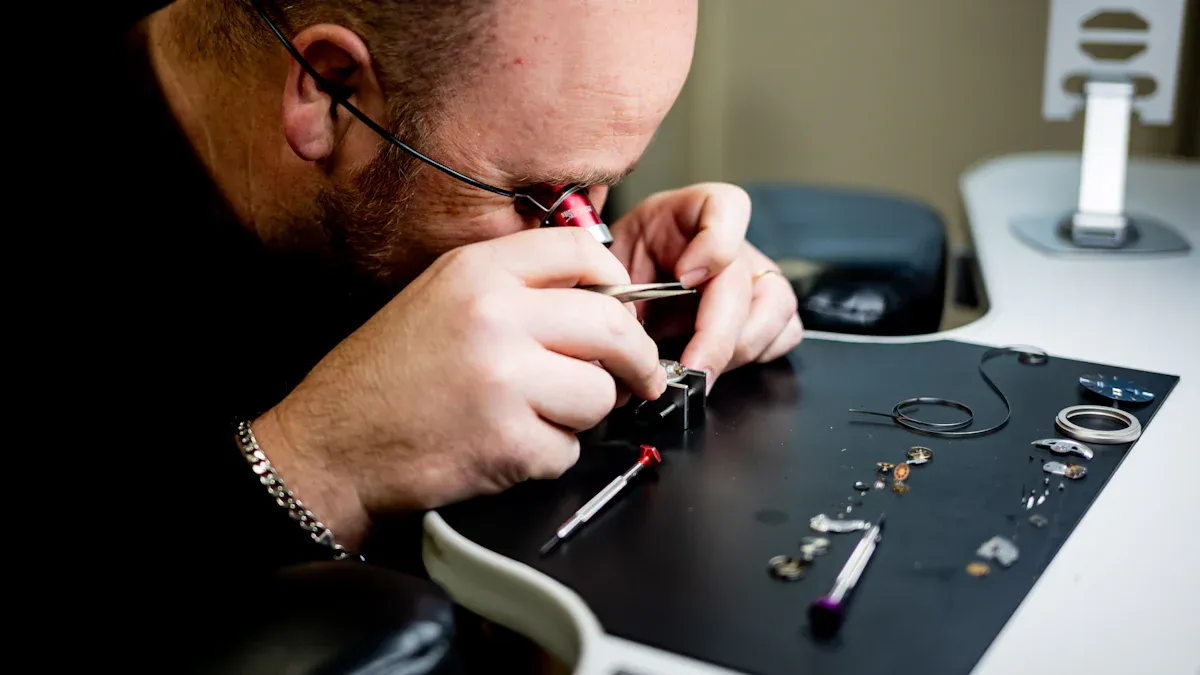
The first step in your flashlight repair journey is to remove the damaged lens. Start by unscrewing the flashlight’s bezel, which is the ring holding the lens in place. Use a strap wrench or circlip pliers if the bezel feels stuck. Once the bezel is off, gently lift the scratched lens out. Be careful not to damage any surrounding parts, like the gasket or O-ring, as these help keep your flashlight waterproof. If the lens is shattered, wear gloves to avoid cuts and handle the pieces carefully.
Tip: Keep all small parts, like screws or gaskets, in a safe place to avoid losing them during the process.
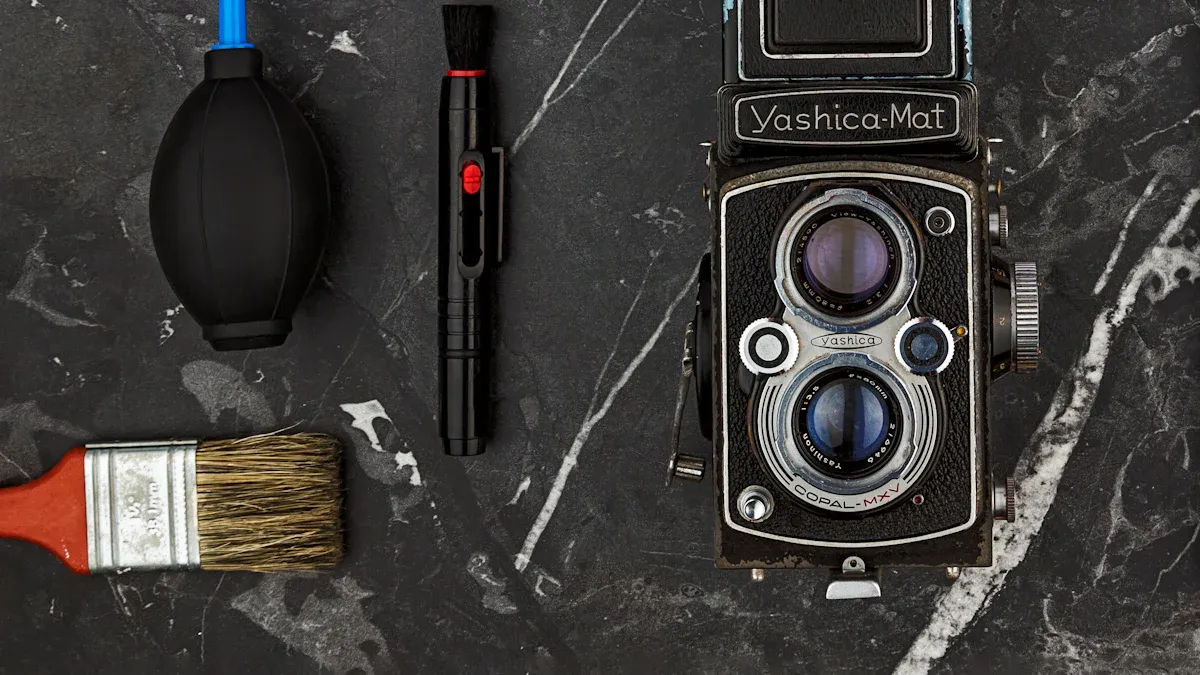
Step 2: Clean and Prepare the Flashlight
Before you install the new lens, it’s essential to clean the flashlight’s housing. Dust and debris can affect the fit and performance of the replacement lens. Use the following cleaning steps to prepare your flashlight:
Use a microfiber cloth or a lens cleaning chamois to wipe the housing.
For stubborn dirt, lightly dampen the cloth with lens cleaning fluid or pure water.
Avoid paper towels, as they can leave scratches.
A dust puffer from a camera shop can help remove fine particles.
For tough grime, use a Q-tip with isopropyl alcohol, followed by a microfiber cloth.
A clean surface ensures the new lens fits snugly and performs optimally.
Step 3: Install the New Lens
Now it’s time to install the new lens. Place the replacement lens into the flashlight’s housing, ensuring it sits evenly. If your flashlight uses a gasket or O-ring, position it correctly around the lens to maintain a tight seal. Screw the bezel back on securely, but don’t overtighten it. Over-tightening can crack the lens or damage the bezel threads.
Note: If you’re working on a helius flashlight, double-check that the lens is aligned properly to avoid any beam distortion.
Step 4: Test the Flashlight for Functionality
Once the new lens is in place, test your flashlight to ensure everything works as expected. Turn it on and check the beam. It should be clear and bright, free from any distortions caused by scratches or misalignment. If the beam looks uneven, reopen the flashlight and adjust the lens or gasket. Testing your flashlight immediately after installation helps you catch and fix any issues right away.
By following these steps to remove scratches and replace the lens, you’ll restore your flashlight’s performance and extend its lifespan. This DIY repair is simple, cost-effective, and ensures your flashlight is ready for any situation.
Tips and Troubleshooting
Identifying the Correct Lens Size for Your Flashlight
Choosing the right lens size is crucial for a successful repair. Start by checking your flashlight’s manual or looking up the model number online. Manufacturers often list the exact dimensions of the lens. If you don’t have the manual, measure the old lens carefully. Use a ruler or caliper to get the diameter and thickness. Write these measurements down to avoid confusion when shopping for a replacement lens.
When buying a lens for your helius flashlight, make sure it’s specifically designed for that model. A mismatched lens can lead to poor beam quality or even damage the flashlight. If you’re unsure, contact the manufacturer or ask for help at a specialty store.
Tip: Always double-check the product description before purchasing a replacement lens online.
Handling Stubborn or Stuck Parts
Sometimes, parts like the bezel or screws can get stuck, making it hard to remove the damaged lens. Don’t panic! Start by using the right tools, like a strap wrench or circlip pliers, to loosen the parts. Apply steady pressure instead of forcing them, which could cause scratches or break the flashlight.
If the parts still won’t budge, try applying a small amount of lubricant, like WD-40, around the stuck area. Let it sit for a few minutes, then try again. For extreme cases, you might need to use a heat gun on a low setting to gently warm the area. This can help loosen stubborn parts without damaging the flashlight.
Warning: Avoid using excessive force, as it can strip threads or crack the housing.
What to Do If the New Lens Doesn’t Fit Properly
If your replacement lens doesn’t fit, don’t worry—it’s a common issue in DIY repairs. First, check if the lens is seated correctly. Sometimes, a gasket or O-ring might be misaligned, preventing the lens from fitting snugly. Adjust these components and try again.
If the lens still doesn’t fit, compare it to the old one. Look for differences in size or shape. If the new lens is too large, you may need to sand it down slightly. Use fine-grit sandpaper and work slowly to avoid over-sanding. If it’s too small, you’ll need to order a new lens with the correct dimensions.
Note: Always keep the old lens until you’re sure the replacement fits perfectly.
By following these tips, you can handle common challenges during your DIY repair and ensure your flashlight works like new.
Replacing a scratched lens on your helius flashlight is easier than you think. With this guide, you’ve got everything you need for a successful DIY repair. A quick replacement restores your flashlight’s performance and keeps it ready for any situation. Don’t wait—start your repair today and enjoy a clear, bright beam again!
FAQ
How do I know if my flashlight lens needs replacing?
If your flashlight beam looks dim or uneven, the lens might be scratched or damaged. Replacing it can restore brightness and improve performance.
Can I use any lens for my flashlight?
No, you need a lens that matches your flashlight model. Check the manual or measure the old lens to ensure a proper fit.
Is DIY repair safe for my flashlight?
Yes, DIY repair is safe if you use the right tools and follow instructions carefully. It’s a cost-effective way to fix your flashlight and improve its functionality.
See Also
A Comprehensive Guide to Flashlight Cleaning Techniques
Key Strategies for Maintaining Your Flashlight Effectively
The Complete Handbook for Flashlight Care and Cleaning
