Proper Care of Your Headlamp to Keep It in Top Working Condition
Your vehicle’s headlamps are essential for driving safety, especially in low-light conditions. Neglecting them can lead to serious safety concerns. Routine maintenance tasks like cleaning and inspecting your headlights can reduce visibility issues by up to 50% during heavy rain. Preventive care also enhances vision by up to 200%, lowering accident risks. Regular upkeep extends the lifespan of your headlights, saving you money and ensuring optimal performance. Addressing minor issues early helps repair damage promptly, preventing costly failures. A well-maintained headlamp, much like a helius flashlight, ensures you see clearly and drive safely.
Key Takeaways
Clean your headlights often with toothpaste or baking soda. This easy step helps you see better and stay safe at night.
Check your headlights every three months for problems like dimming or being out of place. Finding issues early saves money and keeps driving safe.
Change old or weak bulbs quickly to keep lights bright. Watch for dimming, flickering, or one light not working as signs to replace them.
Keep Your Headlights Clean
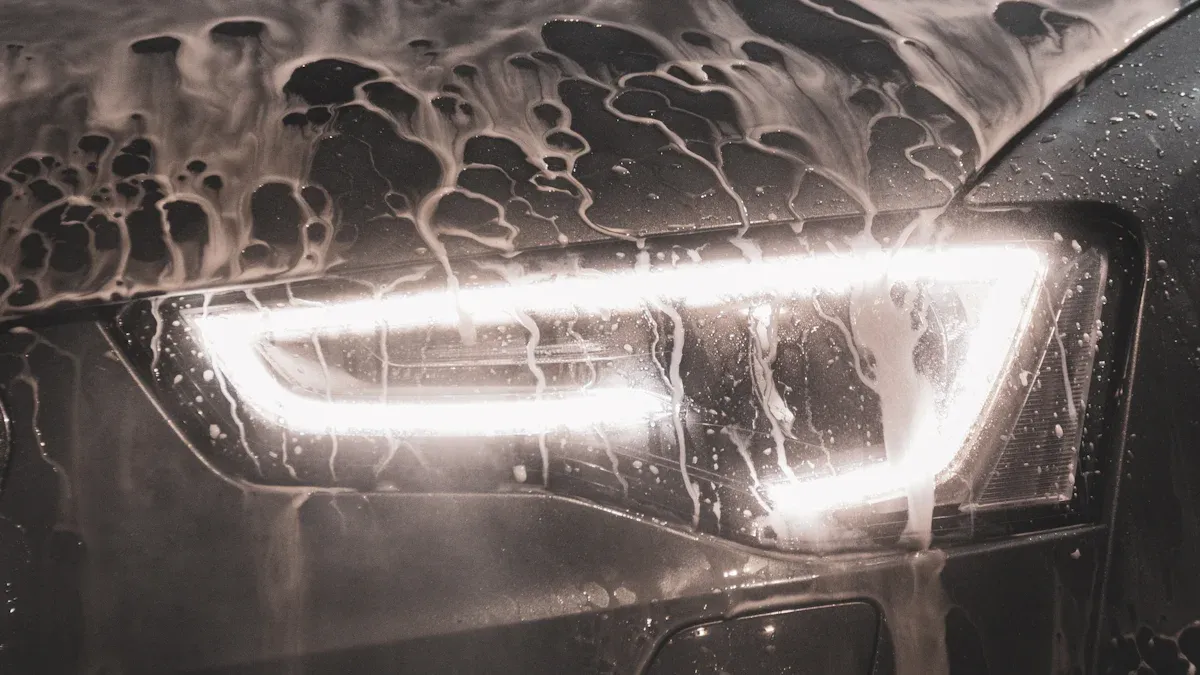
Keeping your headlights clean is essential for maintaining nighttime safety and ensuring clear visibility. Dirt, grime, and oxidation can reduce the effectiveness of your headlamps, making regular maintenance a priority.
Tools and Materials for Cleaning
You don’t need expensive tools to clean your headlights effectively. Many household items work well for this task. Here’s what you can use:
Toothpaste, baking soda, or vinegar for gentle scrubbing.
Car wash soap and microfiber cloths for basic cleaning.
Rubbing alcohol to remove stubborn residue.
If you prefer a professional approach, consider commercial headlight restoration kits. These kits often include wet and dry sandpaper, polish, and UV sealants to restore clarity and protect against future damage.
Step-by-Step Cleaning Process
Follow these simple steps to clean your headlights and restore their brightness:
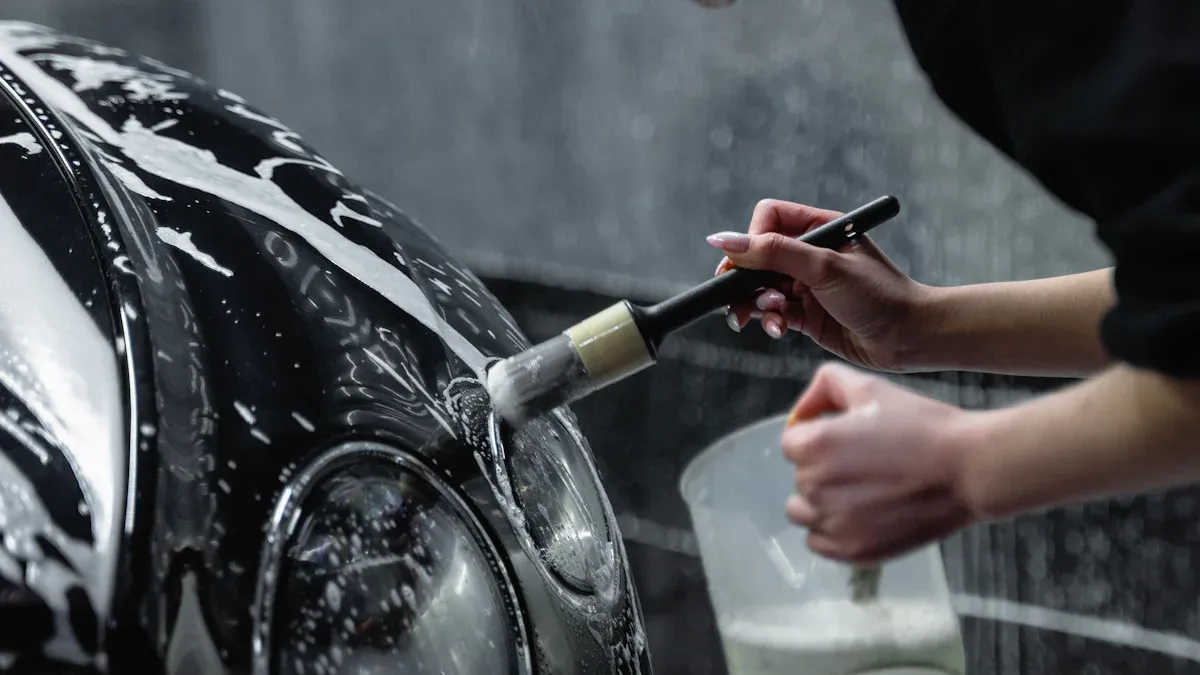
Wash the headlamp surface with soap and water to remove loose dirt.
Apply a small amount of toothpaste or baking soda to a damp microfiber cloth.
Gently scrub the headlamp in circular motions to remove haze and grime.
Rinse with clean water and dry with a soft cloth.
For added protection, apply a UV sealant or protective film to prevent yellowing.
Avoid using harsh chemicals like acetone or ammonia-based cleaners. These can damage the lens and reduce its lifespan.
How Often to Clean Your Headlamp
Routine cleaning every few months helps keep your headlights clean and prevents oxidation. If you notice signs of damage, such as yellowing or hazing, address them immediately with headlight restoration methods. Regular maintenance ensures your headlamps remain clear and effective, enhancing nighttime safety and reducing the risk of accidents.
Addressing Common Headlight Maintenance Issues
Dealing with Oxidation
Oxidation is one of the most common issues affecting headlamp lenses. It occurs when UV rays break down the protective coating on the lens, causing it to appear cloudy or yellowed. To address this, you can use a polishing compound designed for headlight maintenance. Gently buff the lens with a microfiber cloth to restore clarity. Avoid using abrasive materials, as they can worsen the damage.
Preventing oxidation is equally important. Parking your vehicle in a garage or shaded area reduces UV exposure. Regular cleaning and avoiding harsh waxes also help maintain the lens's protective layer. While some protective coatings claim to prevent oxidation, they may damage the original coating, so proceed cautiously.
Fixing Scratches on the Lens
Scratches on headlamp lenses often result from improper cleaning methods or environmental factors like debris from the road. To repair minor scratches, use a car headlight restoration kit. These kits typically include sandpaper and polishing compounds. Start with a fine-grit sandpaper, gently sanding the lens in a circular motion. Follow up with the polishing compound to smooth the surface and restore transparency.
For severe scratches, replacing the lens might be the best option. To avoid future damage, always clean your headlights with soft, clean materials and avoid abrasive cleaners.
Troubleshooting Dimming or Flickering Lights
Dimming or flickering headlights can compromise your safety while driving. Common causes include electrical issues like a failing alternator, weak battery, or corroded connections. Start by inspecting the battery and alternator for proper function. Check for loose or damaged wiring, as these can disrupt the electrical flow.
If the bulbs themselves are worn out, replace them promptly. A malfunctioning headlamp switch or voltage regulator may also cause flickering. In such cases, consult a professional to ensure the issue is resolved safely and effectively. Regular inspections as part of your headlight maintenance routine can help you catch these problems early, preventing complete failure.
Inspect Your Headlights for Proper Alignment
Why Alignment Matters
Proper headlight alignment plays a critical role in ensuring safety and visibility while driving. Misaligned headlights can create several hazards:
Headlights aimed too high can blind oncoming drivers, increasing the risk of accidents.
Low-aimed headlights fail to illuminate the road properly, making it harder to spot obstacles.
Misalignment reduces your ability to see clearly, especially during nighttime or bad weather.
Correct alignment ensures the light beam points straight ahead and slightly downward. This setup optimizes road coverage without causing glare for other drivers. Regularly inspect your headlights to maintain proper alignment and avoid these risks.
How to Check Headlamp Alignment
Checking headlamp alignment is a straightforward process. Follow these steps to ensure accuracy:
Park your car on level ground, 50cm from a dark wall or garage door.
Remove excess weight from the vehicle and check that the tire pressure matches the recommended levels.
Measure the height of the headlights from the ground to confirm the suspension is level.
Turn on your main lights and mark the horizontal cut-off line on the wall.
Draw another line 10cm below the cut-off line.
Move your car back exactly 10 meters and check if the light aligns with the lower line.
If the beams don’t align, adjustments are necessary. These tips will help you identify misalignment early and take corrective action.
Steps to Adjust and Calibrate Your Headlamp
Adjusting your headlights is simple with the right tools and tips. Locate the alignment screws near the headlamp assembly. Use a screwdriver to adjust the vertical and horizontal aim of the beams. Align the light with the lower marked line on the wall. After making adjustments, take your car for a test drive to confirm the alignment works well in real-world conditions.
Regular calibration ensures your headlights provide optimal visibility without causing glare. Make this part of your routine maintenance to drive safely and confidently.
Replacement Guidelines for Headlamp Bulbs
Signs It’s Time to Replace Your Bulbs
Your headlamp bulbs don’t last forever. Knowing when to replace them ensures your safety on the road. If you struggle to see clearly at night, it’s a sign your bulbs may be failing. Other indicators include:
Lights flicker unexpectedly.
High beams fail to turn on.
One headlight stops working.
The fuse blows out repeatedly.
Ignoring these signs can compromise your visibility and increase accident risks. Inspect your bulbs regularly to catch these issues early.
Choosing the Right Replacement Bulbs
Selecting the correct bulbs for your vehicle is crucial. Consider these factors when making your choice:
Factor | Description |
|---|---|
Ensure replacement bulbs match the size of your stock parts for proper fit. | |
Color Temperature | Opt for bulbs rated between 3,000 to 4,000 Kelvin for warmer colors, or 5,000 to 6,000 for cooler tones. |
Brightness | Brighter bulbs may draw more power from the electrical system. |
Lifespan | LEDs last the longest, but consider other types from reliable brands for quality. |
Each bulb type offers unique benefits. Halogen bulbs are affordable but have a shorter lifespan. HID bulbs provide brighter light but take longer to reach full brightness. LEDs are energy-efficient and long-lasting but come with a higher upfront cost. Choose the type that best suits your needs and budget.
How to Replace Headlamp Bulbs Safely
Replacing headlamp bulbs is a straightforward process you can handle yourself. Follow these steps to do it safely:
Turn off your vehicle and let the headlights cool.
Open the hood and locate the back of the headlamp assembly.
Disconnect the power connector from the bulb.
Remove the old bulb by twisting it counterclockwise.
Insert the new bulb, ensuring it fits securely.
Reconnect the power connector and test the headlights.
Avoid touching the glass part of the bulb with your fingers. Oils from your skin can cause the bulb to overheat and fail prematurely. If you’re unsure about the process, consult your vehicle’s manual or seek professional assistance.
Preventative Measures to Maintain Your Car Headlights
Protecting Against UV Damage
UV rays can cause your headlamp lenses to yellow or fade over time. Applying a UV protection coating is one of the best ways to shield your headlights from this damage. These coatings offer several long-term benefits:
They provide higher protection compared to traditional methods.
The film lasts longer, ensuring durability over time.
Built-in UV protection preserves the lens's clarity and appearance.
You can also park your car in shaded areas or use a car cover to reduce UV exposure. Regularly cleaning your headlights and applying a protective sealant will help maintain their condition and extend their lifespan.
Avoiding Physical Damage and Wear
Physical damage often occurs due to road debris, harsh weather, or improper cleaning techniques. To avoid this, always clean your headlights with a soft microfiber cloth and non-abrasive cleaners. Avoid using harsh chemicals that can weaken the lens material.
Installing headlight covers or protective films can shield your headlights from scratches and chips caused by flying debris. When driving on rough terrain, maintain a safe distance from other vehicles to minimize the risk of damage. These simple steps can help you keep your headlights in excellent condition.
Storing Your Headlamp Properly
Proper storage is essential when your headlamp is not in use. Follow these best practices to maintain its condition:
Disconnect the battery to prevent accidental activation and battery drain.
For long-term storage, keep the battery level between 50% and 80% to ensure optimal performance.
Store your headlamp in a cool, dry place away from direct sunlight and moisture. Use a protective case or wrap to prevent dust and scratches. These precautions will help you maintain your car headlights and ensure they remain functional when needed.
Professional vs DIY Headlight Maintenance
When to Seek Professional Help
Some headlight issues require professional expertise. You should seek help when:
The headlight casing is severely damaged or cracked. DIY methods cannot fix structural damage effectively.
Internal electrical problems arise. These issues often involve complex wiring or components that need specialized tools and knowledge.
Professional services ensure your headlights are repaired or replaced correctly, restoring their functionality and appearance.
Benefits of DIY Maintenance
DIY headlight maintenance offers several advantages:
It is a cost-effective solution. You can use household items like toothpaste or baking soda for cleaning.
You can perform it at home without needing professional assistance.
It allows you to address minor issues quickly, saving time compared to scheduling a service.
However, DIY methods have limitations. The process can be time-consuming, and results may vary. DIY kits often lack durable UV coatings, leading to faster re-clouding. For deeper damage, professional technicians achieve better results with advanced tools and techniques.
Balancing Cost and Convenience
Choosing between professional and DIY maintenance depends on your priorities. DIY methods save money but require effort and time. If you enjoy hands-on projects and have a limited budget, DIY is a great option. For severely damaged headlights or high-value vehicles, professional services provide guaranteed results.
Consider your needs and the condition of your headlights to make the best decision. Regularly applying headlight care tips can also reduce the need for frequent repairs, helping you maintain clear and functional headlights.
Maintaining your headlamps ensures safety and optimal performance on the road. Regularly clean the lenses to keep them clear and bright. Inspect for issues like flickering lights or misalignment. Replace old bulbs to maintain visibility and apply anti-fog treatments to prevent moisture buildup. Proper care saves time and money by reducing replacement costs and accident risks. Parking in shaded areas and washing your car regularly also prevent oxidation. By prioritizing headlamp care, you enhance visibility and protect yourself and others while driving.
FAQ
How often should you inspect your headlamps?
You should inspect your headlamps every three months. Regular checks help you identify issues like misalignment, dimming, or damage before they compromise your safety.
Can you use household items to clean headlights?
Yes! Toothpaste, baking soda, or vinegar work well for cleaning. These items effectively remove grime and haze, restoring clarity without requiring expensive products. 🧽✨
What’s the best way to prevent headlamp oxidation?
Apply a UV protection coating after cleaning. Parking in shaded areas or using a car cover also reduces UV exposure, keeping your headlights clear and bright. 🌞
See Also
Key Strategies for Proper Flashlight Upkeep
Comprehensive Guide to Choosing the Right Headlamp
Selecting the Perfect Headlamp Flashlight for Your Needs
