Top Flashlight Maintenance Mistakes to Avoid
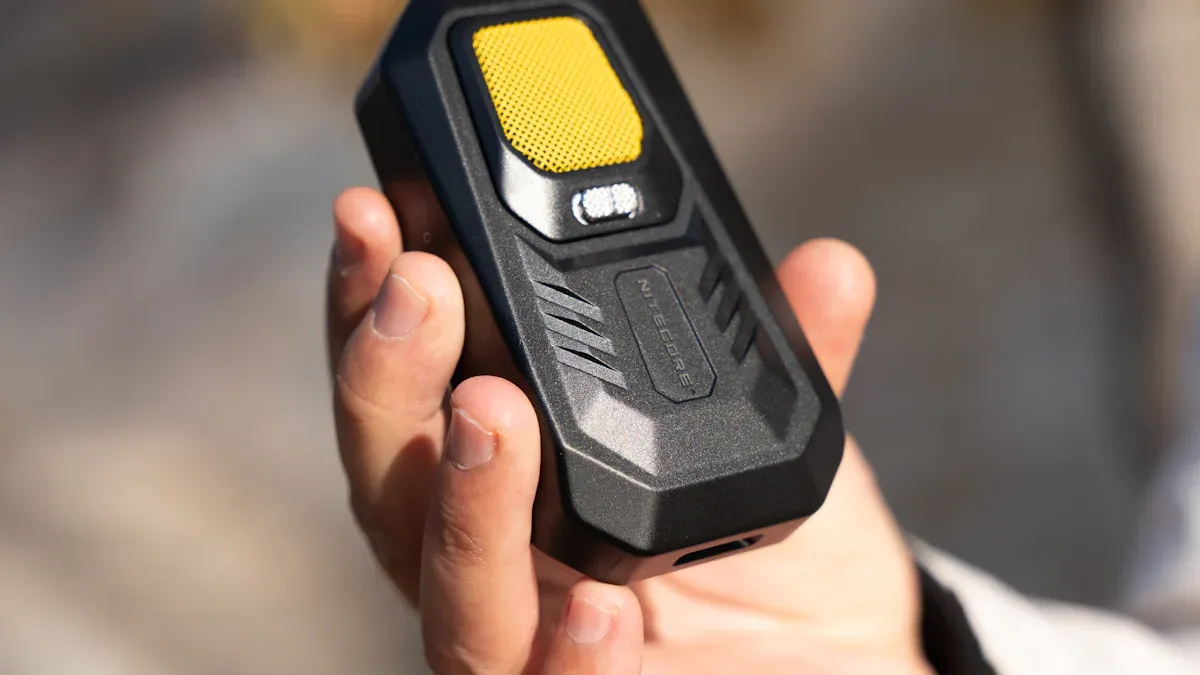
Taking care of your flashlight is more important than you might think. Without proper flashlight maintenance, you risk issues like battery leakage, dim light, or even internal corrosion. Neglect can leave you with a flickering beam or a flashlight that won’t turn on. Good maintenance ensures your helius flashlight stays reliable when you need it most.
Key Takeaways
Keep your flashlight in a cool, dry place to avoid damage.
Take out the batteries if not using it for a long time. This stops leaks and keeps it ready to use.
Clean the outside and battery parts often to keep it working well and stop rust.
Improper Storage Practices
Effects of Extreme Temperatures on Flashlights
Extreme temperatures can wreak havoc on your flashlight. Have you ever noticed your flashlight dimming faster in the cold? That’s because low temperatures increase the internal resistance of batteries, which reduces the power sent to the LED. On the flip side, high temperatures might seem better since they lower resistance, but they actually shorten the lifespan of rechargeable batteries. LEDs, however, thrive in colder conditions once the batteries warm up. So, if you’re using your flashlight in freezing weather, give it a moment to adjust for better performance.
To avoid these issues, store your flashlight in a temperature-controlled environment. Leaving it in a hot car or an unheated garage can lead to unnecessary wear and tear. Proper storage is key to keeping your flashlight ready when you need it most.
Risks of Storing in Humid or Wet Environments
Humidity and moisture are silent flashlight killers. Storing your flashlight in damp areas can lead to corrosion, especially on battery contacts. This corrosion can block the flow of electricity, leaving you with a non-functional flashlight. Even if your flashlight is water-resistant, long-term exposure to moisture can damage seals and internal components.
To prevent this, avoid storing your flashlight in basements, bathrooms, or other humid spaces. Instead, choose a dry, well-ventilated area. Adding silica gel packets to your storage space can also help absorb excess moisture.
Benefits of Using Protective Cases for Flashlights
Protective cases are a game-changer for flashlight storage. They shield your flashlight from dust, moisture, and accidental impacts. Some of the best options include the Apache 1800 case, which is affordable and can hold multiple flashlights. If you prefer individual storage, Otterbox cases are a solid choice, though they can be pricier. For sturdier foam protection, the S3 T 5000 case is highly recommended.
Using a protective case not only ensures proper storage but also makes it easier to organize your flashlights. This simple addition to your maintenance routine can save you from many common mistakes, like leaving your flashlight exposed to harmful elements.
Battery Mishandling and How to Prevent Battery Leakage
Choosing the Right Batteries for Your Flashlight
Picking the right batteries for your flashlight isn’t as simple as grabbing the first pack you see. It’s all about matching the battery type to your flashlight’s needs. Here are some tips to help you make the best choice:
Battery Type: Decide between alkaline, lithium, or rechargeable NiMH batteries. Lithium batteries are great for preventing leaks and lasting longer.
Size and Fit: Double-check that the batteries fit snugly in your flashlight.
Voltage Compatibility: Ensure the batteries meet your flashlight’s voltage requirements.
Capacity: Higher capacity means longer runtime, which is perfect for extended use.
Shelf Life: If you’re storing batteries for emergencies, choose ones with a long shelf life.
Performance in Conditions: Some batteries perform better in extreme temperatures.
Rechargeability: Rechargeable batteries are eco-friendly and cost-effective for frequent use.
Choosing wisely ensures your flashlight performs at its best and reduces the risk of alkaline battery leakage.
Avoiding Long-Term Battery Storage Inside Flashlights
Leaving batteries in your flashlight for too long can lead to trouble. Even when turned off, flashlights can slowly drain battery power, a process called parasitic drain. This leaves you with dead batteries when you need them most. Worse, it increases the chances of leaks, which can damage your flashlight.
The solution? Remove the batteries if you’re not using the flashlight for a while. Store the batteries properly in a cool, dry place to keep them in good condition. This simple step can prevent battery leakage and ensure your flashlight is always ready to go.
Why Mixing Old and New Batteries is a Common Mistake
Mixing old and new batteries might seem harmless, but it’s a recipe for disaster. When you combine batteries with different charge levels, the older ones can reverse charge the newer ones. This not only drains power faster but also increases the risk of leaks.
Stick to using batteries of the same brand, type, and charge state. If you notice corroded batteries, clean up after alkaline batteries immediately to avoid further damage. Consistency is key to keeping your flashlight safe and functional.
Neglecting Flashlight Cleaning
Cleaning the Exterior to Remove Dirt and Debris
Keeping the outside of your flashlight clean is essential for proper flashlight care. Dirt and grime can build up over time, especially in grooves or knurled areas, making it harder to grip and use. Start by removing the batteries to avoid accidental activation. Then, use a soft cloth or brush to clean the exterior. For stubborn dirt, dampen the cloth with water or a mild cleaning solution. A toothbrush works wonders for cleaning those hard-to-reach spots.
After every use, wipe the flashlight with a damp washcloth to remove moisture and dirt. For a more thorough clean, try using lint-free fabrics or microfiber cloths. If the flashlight has aggressive dirt, an alcohol pad or fast-evaporating cleaner can help. Just make sure it’s safe for the flashlight’s material. Regular cleaning prevents buildup that could affect functionality and ensures your flashlight stays in top shape.
Maintaining Battery Contacts for Optimal Performance
Battery contacts are the heart of your flashlight. If they’re dirty or corroded, your flashlight won’t perform as it should. Regularly inspect the battery compartment for any signs of corrosion or debris. Cleaning the inside of the flashlight, especially the contacts, ensures consistent performance and reliable illumination.
To clean the contacts, use a cotton swab dipped in rubbing alcohol. Gently rub the contacts to remove any buildup. This simple step prevents corrosion and keeps the electrical connection strong. It’s a small task that makes a big difference in flashlight care.
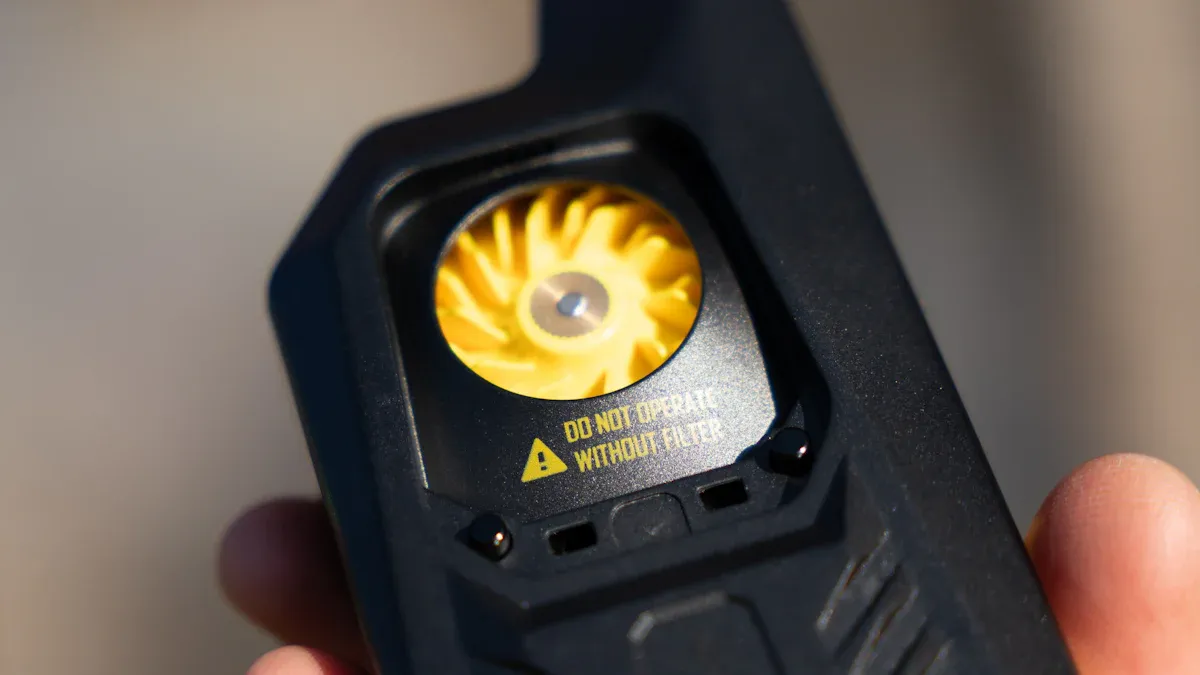
Proper Care for the Lens and Reflector
A dirty lens can reduce brightness and distort the beam quality. To keep your flashlight shining bright, regularly inspect the lens and reflector for dirt or damage. Use a microfiber cloth to gently wipe the lens, removing fingerprints and smudges. For stubborn stains, a lens cleaning solution works well. Always follow the manufacturer’s instructions to avoid damage.
The reflector also needs attention. If it’s dirty, clean it with a cotton swab and a bit of alcohol. Avoid abrasive materials that could scratch the surface. Proper care for these components ensures your flashlight delivers the best possible performance, even in critical situations.
Skipping Routine Flashlight Inspections
Routine inspections might sound tedious, but they’re essential for keeping your flashlight in top condition. Skipping these checks can lead to unexpected failures when you need your flashlight the most. Let’s dive into what you should look for during these inspections.
Identifying Loose or Damaged Parts
Have you ever noticed your flashlight flickering or failing to turn on? Loose or damaged parts could be the culprit. During inspections, check for anything that feels wobbly or out of place. Pay close attention to the tail cap, switch, and bezel. These components often loosen over time, especially if you use your flashlight frequently.
Also, don’t overlook the lockout feature. Many users forget to engage it, which can lead to accidental activation and drain the battery. Regularly inspecting your flashlight helps you catch these issues early, ensuring it’s always ready to perform.
Preventing Corrosion Through Regular Checks
Corrosion is one of the biggest threats to your flashlight’s longevity. Regular inspections allow you to spot corroded battery contacts or damaged seals before they cause serious problems. Here’s how these checks help:
They let you address corrosion promptly, preventing further damage.
You can ensure your flashlight stays in excellent working condition.
They help you identify and replace faulty components, like worn-out seals.
By sticking to a routine inspection schedule, you’ll keep your flashlight reliable and extend its lifespan.
Inspecting Seals and O-Rings for Wear and Tear
Seals and O-rings play a crucial role in keeping your flashlight waterproof and dustproof. Over time, these components can wear out, compromising your flashlight’s durability. Here’s what to look for:
Type of Damage | Description |
|---|---|
Surface wear, flaking, thinning, or pitted areas on the O-ring. | |
Rough texture or reduced diameter where the O-ring contacts other surfaces. | |
Signs of UV Damage | Surface cracking, loss of elasticity, chalking, or discoloration. |
Hardening and surface degradation due to UV exposure. |
If you notice any of these signs, replace the seals or O-rings immediately. This small step can prevent water or dirt from entering your flashlight and damaging the internal components.
Misusing Your Helius Flashlight
Avoiding Overuse Beyond Intended Purpose
Your helius flashlight is built to last, but it’s not indestructible. Using it for tasks beyond its design can lead to unnecessary wear and tear. For example, using your flashlight as a hammer or prying tool might seem convenient, but it can damage the casing or internal components. Similarly, leaving it on for extended periods without breaks can overheat the LED or drain the battery faster than intended.
Stick to the flashlight’s intended purpose. If you need a tool for heavy-duty tasks, grab the right one. Treating your helius flashlight with care ensures it stays reliable when you need it most.
Risks of Overloading with High-Drain Accessories
Adding high-drain accessories to your flashlight might sound like a good idea, but it can backfire. Accessories like powerful external batteries or high-output bulbs can strain your flashlight’s circuitry. This can lead to overheating, reduced battery life, or even permanent damage to the internal components.
Instead, use accessories recommended by the manufacturer. They’re designed to work seamlessly with your helius flashlight. If you’re unsure, check the user manual or consult the manufacturer’s website. Keeping things simple helps maintain your flashlight’s performance and longevity.
Handling Flashlights to Prevent Drops and Damage
Accidental drops are one of the most common causes of flashlight damage. A cracked lens or dented casing can compromise your helius flashlight’s functionality. To avoid this, follow these tips:
Use a protective case with padding to shield your flashlight from impacts.
Store it in a dry, cool place to prevent rust or corrosion.
Clean it every six months to remove debris that could affect its grip.
Proper storage is just as important. Keep your flashlight away from direct sunlight and moisture. This reduces the risk of accidental drops and ensures it stays in top condition. A little care goes a long way in preventing unnecessary damage.
Taking proper care of your flashlight ensures it’s always ready when you need it most. Regular cleaning, like wiping the lens and maintaining battery contacts, keeps it functioning at its best. Don’t forget to inspect for loose parts or corrosion. Safe storage and proper battery management also go a long way in extending its lifespan.
Adopting these habits makes your flashlight more reliable and prevents unexpected failures. Routine maintenance, like testing and cleaning, helps you catch small issues before they become big problems. In emergencies, a well-maintained flashlight can make all the difference. Keep it clean, store it safely, and always test it regularly to stay prepared.
FAQ
How often should you clean your flashlight?
You should clean your flashlight every few months or after heavy use. Regular cleaning prevents dirt buildup and ensures it works properly when you need it.
Can you use any batteries for your flashlight?
No, always use batteries recommended by the manufacturer. Using the wrong type can damage your flashlight or reduce its performance.
What’s the best way to store a flashlight?
Store your flashlight in a cool, dry place. Use a protective case to shield it from dust, moisture, and accidental damage.
See Also
Key Strategies for Maintaining Your Flashlight Effectively
Comprehensive Handbook for Cleaning and Maintaining Flashlights
Maximize Your Flashlight's Battery Life With These Tips
A Complete Guide to Properly Cleaning Your Flashlight
Five Key Considerations for Selecting Your Ideal EDC Flashlight
