Headlamps for Cyclists: Why They Are Essential for Safe Night Riding
Riding at night without proper lighting is risky. Did you know roughly 50% of cycling accidents happen in the dark? Poor visibility makes it harder for drivers to spot you. A reliable headlamp, like the helius flashlight, ensures you see obstacles and stay visible to others. It’s essential for safe night cycling.
Key Takeaways
A headlamp helps you see better when biking at night. It lowers the chance of accidents.
Look up local rules to make sure your bike lights are legal. This keeps you safe and following the law.
Take care of your headlamp. Check the battery and clean the lens often so it works well.
The Role of Headlamps in Safe Night Cycling
Enhancing Cyclist Visibility with Lights
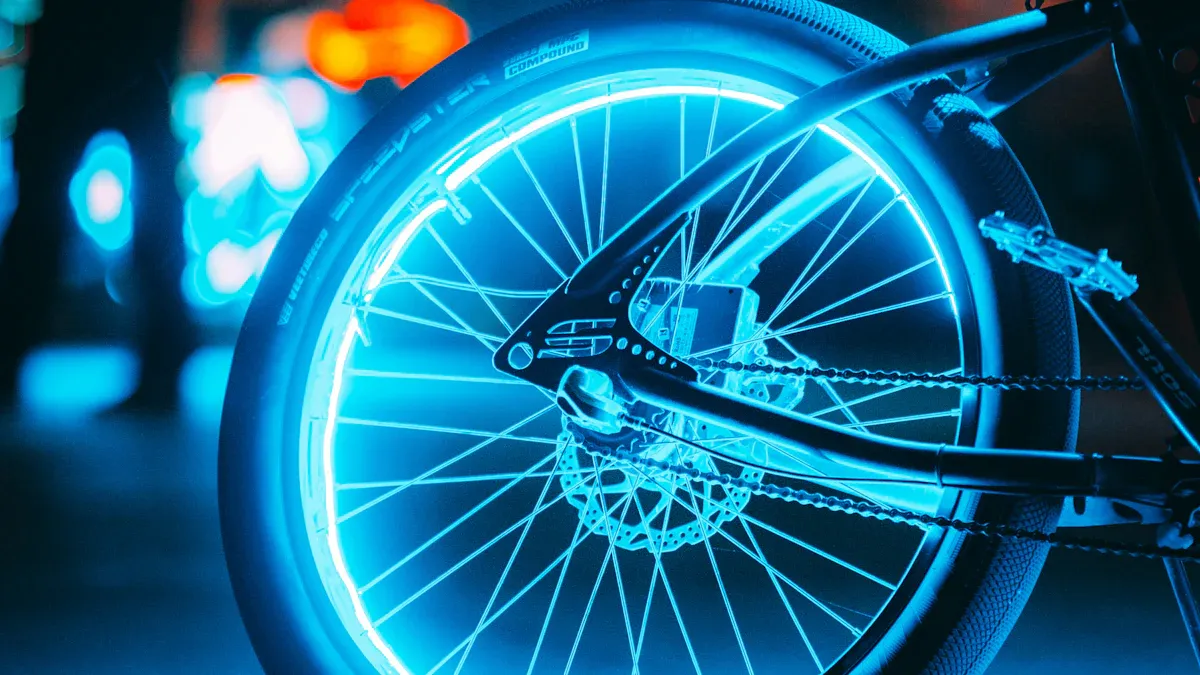
When you’re cycling at night, visibility is everything. Using lights while cycling ensures that you’re not just relying on reflectors to be seen. LED bike headlights, for example, are far more effective than reflectors. At 500 feet, LED lights shine with 100 times more power than reflectors. This is because LED lights maintain their intensity over longer distances, making it easier for drivers to spot you. Proper lighting like this can be the difference between a safe ride and a close call.
Improving Safety by Making Cyclists Noticeable to Others
Your safety depends on how noticeable you are to others on the road. Bright front and rear lights make you stand out to drivers, pedestrians, and even other cyclists. A headlamp mounted on your bike or helmet ensures that your presence is clear, even in the darkest conditions. Pairing your bike headlights with a tail light boosts your visibility from all angles. This setup not only keeps you safe but also helps others navigate around you more easily.
Avoiding Obstacles and Hazards in Low-Light Conditions
Night bicycling comes with its own set of challenges. Common obstacles like potholes, debris, or even flat tires can ruin your ride. A headlamp helps you spot these hazards before they become a problem. Intersections, where accidents often happen, also require extra attention. With proper lighting, you can see what’s ahead and react quickly, keeping your ride smooth and safe.
Legal Requirements for Bicycle Lighting
Common Laws for Headlamps and Rear Lights
When it comes to riding at night, you can’t ignore bicycle safety regulations. Most regions have clear rules about using proper lighting to keep cyclists safe. For example, many places require a white headlamp on the front of your bike and a red tail light or reflector on the back. These laws ensure you’re visible to others and can see the road ahead.
Here’s a quick look at the legal requirements for bicycle lighting in some major regions:
Region | Front Light Requirements | Rear Light Requirements |
|---|---|---|
UK | White front light, steady or flashing mode | Red rear light, red reflector |
New York | White light visible from 500 feet | Red or amber light visible from 300 feet |
California | White light visible from 300 feet | Red reflector or solid/flashing red light visible from 500 feet |
Oregon | White light visible from 500 feet | Red light or reflector visible from 600 feet |
Nevada | White light visible from 500 feet | Red reflector visible from 50 to 300 feet |
Utah | White headlight visible from 500 feet | Red taillight or reflector visible from 500 feet |
Knowing these rules helps you stay compliant and avoid unnecessary fines.
Ensuring Compliance to Avoid Fines and Enhance Safety
Following bicycle safety regulations isn’t just about avoiding penalties—it’s about protecting yourself. Imagine riding without proper lighting and a car failing to see you. That’s a risk you don’t want to take. By using bike headlights and front and rear lights that meet legal standards, you make yourself more noticeable and reduce the chances of accidents.
Standards for Brightness and Placement of Headlamps
Not all headlights are created equal. Many regions specify how bright your headlamp should be and where to place it. For instance, a headlamp visible from 300 to 500 feet is a common requirement. Mounting it on your handlebars ensures it illuminates the road effectively. Some cyclists prefer helmet-mounted lights for added flexibility, but always check local laws to ensure compliance. Proper lighting placement not only keeps you legal but also maximizes your visibility and safety.
Choosing the Best Headlamp for Your Bicycle
Understanding Brightness Levels and Lumens
When choosing a headlamp, brightness is one of the most important factors to consider. The right brightness depends on where you’ll be riding. For well-lit city streets, an 800-lumen headlamp works perfectly. But if you’re heading off-road, you’ll need something much brighter—around 3000 to 4000 lumens. Your speed and weather conditions also play a role. Faster rides or foggy nights require stronger bike headlights to ensure proper lighting and safety.
You should also think about beam patterns. A wide beam is great for spotting obstacles nearby, while a focused beam helps you see further ahead. Testing the brightness and beam quality before buying is a smart move. Try field-testing the headlamp or using tools like light meters to measure its performance. This ensures you get the best illumination for your rides.
Key Features: Modes, Battery Life, and Durability
Modern bike headlights come with features that make your rides safer and more convenient. Many headlamps offer multiple modes, like spotlight for long-distance visibility and floodlight for a wider view. Some even include red LED lights to preserve your night vision.
Battery life is another critical factor. Rechargeable headlamps are a popular choice because they’re cost-effective and eco-friendly. They reduce waste and last longer than disposable batteries. Look for a headlamp with a durable design, especially if you often ride in rough weather. Waterproofing is a must to keep your lights working in the rain.
Placement Options: Handlebar vs. Helmet Mounts
Where you mount your headlamp can make a big difference. Handlebar-mounted lights are stable and illuminate the road directly ahead. However, they can sometimes create an illusion of depthlessness, making potholes look deeper than they are. Helmet-mounted lights, on the other hand, shine wherever you’re looking, which helps you better judge the terrain.
Each option has its pros and cons. Helmet-mounted lights are less likely to be forgotten since they’re attached to your helmet. But in foggy or rainy conditions, they might reflect back into your eyes. Handlebar lights can be blocked in group rides but are easier to adjust. Consider your riding style and environment to decide which placement works best for you.
Tips for Using Headlamps Effectively
Combining Headlamps with Taillights and Reflective Gear
Using lights while cycling is essential, but combining them with other visibility tools takes your bike safety to the next level. A headlamp paired with a tail light ensures you’re visible from both the front and back. Adding reflective gear, like vests, ankle bands, or even reflective tape on your bicycle, makes you stand out even more in dark surroundings. Reflective materials catch and bounce light, making you noticeable to drivers from a distance.
For the best commuter lights setup, consider using a steady beam on your headlamp and a flashing mode on your tail light. This combination grabs attention without overwhelming others on the road. Reflective gear complements this by ensuring you remain visible even when headlights from cars aren’t directly on you. These small additions can significantly enhance bicyclist safety during night bicycling.
Adjusting Beam Angle for Maximum Illumination
Proper lighting isn’t just about brightness—it’s also about where the light goes. Adjusting your headlamp’s beam angle can improve illumination and reduce the risk of blinding others. Here are some tips:
Point the beam slightly downward to focus light directly in front of your bike. This works well for slower rides or uneven terrain.
Use a square and even beam for better visibility across your path, though it may leave distant areas dim.
Opt for layered beams, similar to car headlights, to light up both near and far distances. This setup also minimizes glare for oncoming traffic.
Experiment with these adjustments to find what works best for your riding style and environment. A well-angled beam not only improves safety but also reduces the chance of an accident caused by poor visibility.
Regular Maintenance and Battery Checks for Safety
Keeping your headlamp in top condition is crucial for safe night rides. Regularly check the battery life to avoid sudden power loss during your journey. Rechargeable batteries are convenient, but they still need monitoring. Always carry a backup light or spare batteries, especially for longer rides.
Inspect your lighting setup for any damage. Look for cracks in the lens or loose mounts that could affect performance. Clean the lens regularly to ensure maximum brightness. Dust and grime can dim your lights, reducing their effectiveness.
By staying on top of maintenance, you’ll enjoy the full safety benefits of your headlamp and avoid unnecessary risks. A little care goes a long way in ensuring proper lighting and a smooth ride.
Headlamps are a must-have for safe night rides. They improve visibility, reduce bicycle injuries and deaths, and ensure compliance with laws. Here’s why you should prioritize proper lighting:
Bright lights reduce accident risks on dark roads.
Durable, high-quality lights last longer and handle tough weather.
Helmet-mounted options enhance off-road visibility.
Investing in reliable lighting keeps cyclists safe and confident.
FAQ
What is the ideal brightness for a bike headlamp?
The ideal brightness depends on your route. For city streets, 800 lumens work well. Off-road trails need brighter lights, around 3000 lumens, for better visibility.
Can I use a regular flashlight as a bike headlamp?
You can, but it’s not ideal. Bike-specific headlamps offer better mounting options, beam angles, and brightness levels tailored for cycling safety.
How often should I check my headlamp’s battery?
Check it before every ride. Rechargeable batteries should be topped off regularly. Always carry a backup light for longer trips to avoid unexpected outages.
💡 Tip: Test your headlamp in low-light conditions to ensure it meets your visibility needs before heading out.
See Also
Advantages of Employing a Red Light Headlamp
Key Equipment: Headlamps for Convenient Hands-Free Lighting
Comprehensive Headlamp Purchase Guide: Factors to Evaluate
Advice on Using the CYANSKY HS6R Headlamp for Outdoor Activities
Brighten Your Camping Experience: Comparing Lanterns and Flashlights
