How to Use Flashlights to Signal for Help in Emergencies

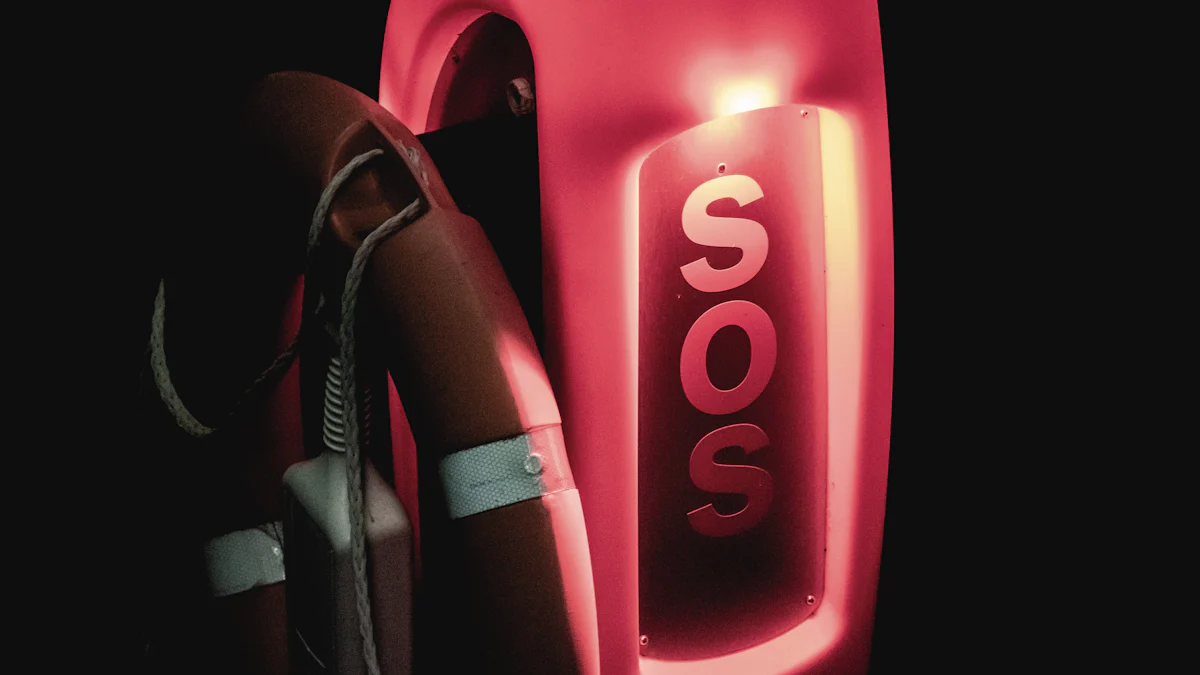
In emergencies, a flashlight can be your lifeline. It’s not just for lighting up dark spaces—it’s a powerful tool to signal for help. The universal SOS distress signal, made famous by Morse code, can be executed with a flashlight to grab attention. Imagine being lost in the wilderness, like the woman in Florida who used her phone’s light to alert a helicopter and get rescued. Or think of hikers signaling a rescue team with their flashlights. These stories show how a simple beam of light can save lives when every second counts.
Key Takeaways
Learn the SOS signal: Flash three short, three long, then three short again. This pattern helps people notice you in emergencies.
Keep your flashlight ready: Check the batteries often. Make sure it’s easy to find in your emergency kit. A good flashlight is very important.
Practice signaling SOS: Learn the SOS pattern before an emergency happens. Practicing helps you stay calm and act fast when needed.
Pick the right spot: Signal from open spaces where the light can go far. Shine it on reflective surfaces to make it easier to see.
Use flashlights with SOS features: Some flashlights can flash SOS by themselves. This lets you focus on other things while asking for help.
Understanding SOS and Its Importance
What is SOS in Morse Code
SOS is one of the simplest and most recognizable distress signals in the world. It’s a sequence of three short signals, three long signals, and three short signals again. In Morse code, this looks like:... --- ...
Why was this pattern chosen? It’s easy to remember and even easier to transmit. You don’t need advanced equipment or special training to send it. Whether you’re using a flashlight, tapping on a surface, or even waving your arms, the SOS pattern stands out. It’s designed to grab attention and communicate that you need help immediately.
Interestingly, the SOS signal has a rich history. Germany first adopted it as the Notzeichen signal on April 1, 1905. Later, it became an international standard at the first International Radiotelegraph Convention in Berlin in 1906. By July 1, 1908, the SOS signal was officially recognized as the universal distress call for ships. This historical background highlights its importance and reliability in emergencies.
Why SOS is a Universal Signal for Help
You might wonder why SOS became the go-to distress signal over other codes. The answer lies in its simplicity and effectiveness. The International Radio Telegraphic Convention in 1906 chose SOS because its Morse code sequence is distinct and hard to confuse with other signals. Its repetitive pattern makes it easy to recognize, even in noisy or chaotic environments. This is why SOS remains a universal symbol of distress, whether you’re stranded at sea or lost in the wilderness.
How Flashlights Can Be Used to Signal SOS
Flashlights are incredibly versatile tools for sending the SOS signal. In an emergency, you can use a flashlight to flash the SOS pattern by turning it on and off in the correct sequence. The bright, focused beam of light ensures your signal is visible over long distances, especially at night. If you’re in a remote area, this can be a lifesaver.
To make your SOS signal more effective, aim the flashlight toward open spaces or reflective surfaces. This increases the chances of someone noticing your distress signal. Whether you’re on a hiking trail, stuck in a car, or signaling from a boat, a flashlight can be your best ally in getting rescued.
Tip: Practice the SOS pattern with your flashlight before an emergency. Familiarity with the sequence can save precious time when it matters most.
How to Signal SOS with Flashlights

Preparing Your Flashlight for Emergency Use
Before you can signal SOS, you need to make sure your flashlight is ready to go. Start by checking the batteries. Are they fully charged or fresh? A weak beam won’t be as effective in grabbing attention. If you’re using a rechargeable flashlight, keep it charged regularly.
Next, test the flashlight to ensure it’s working properly. Turn it on and off a few times to confirm the switch isn’t stuck or faulty. If your flashlight has multiple modes, familiarize yourself with how to switch between them. Some flashlights even have a built-in SOS feature, which can make signaling easier.
Finally, keep your flashlight in an accessible spot. Whether it’s in your backpack, glove compartment, or emergency kit, you don’t want to waste time searching for it during a crisis.
Steps to Execute the SOS Pattern
Now that your flashlight is ready, it’s time to learn how to signal SOS. Follow these steps to create the SOS pattern:
Three Short Flashes
Quickly turn your flashlight on and off three times. Each flash should last about one second. These short bursts are the first part of the SOS signal.
Three Long Flashes
Next, create three long flashes. Hold the light on for about three seconds each time. This is the middle section of the SOS pattern.
Repeating Three Short Flashes
Finally, repeat the three short flashes from the first step. This completes the SOS signal. Pause for a few seconds, then repeat the entire sequence until help arrives.
Tip: Practice these steps in advance so you can execute them smoothly in an emergency.
Avoiding Common Mistakes When Signaling SOS
When signaling SOS, avoid common errors that could reduce your chances of being noticed. Don’t rush through the pattern. Each flash should be clear and distinct. If you’re too fast or inconsistent, your signal might not be recognized as an SOS.
Also, aim your flashlight toward open areas or reflective surfaces. Pointing it at the ground or dense foliage will limit its visibility. Finally, don’t forget to pause briefly between each SOS sequence. This gives rescuers time to notice and respond to your distress signal.
Tools for Effective Flashlight Signaling

Flashlights with Built-in SOS Features
Some flashlights come with built-in SOS features, making them perfect for emergencies. These models can automatically flash the SOS Morse code pattern, freeing up your hands for other tasks. Imagine being stranded in the wilderness and needing to build a fire or treat an injury. A flashlight with this feature can signal for help while you focus on survival.
When choosing one, look for high brightness to ensure visibility over long distances. Many models also offer strobe modes, which can grab attention quickly. These features are especially useful in low-visibility conditions like fog or heavy rain. The SOS signal has been a universal distress signal since 1906, so having a flashlight capable of producing it effectively is crucial.
Using Headlamps and Other Light Sources
Headlamps are another great option for signaling. They provide hands-free lighting, which is essential when you’re multitasking. For example, you can navigate a dark trail while signaling for help at the same time. Many modern headlamps include SOS modes, making them versatile tools for emergencies.
Other light sources, like lanterns or even phone flashlights, can also work in a pinch. However, they may not be as bright or durable as dedicated flashlights. If you rely on these, make sure they’re fully charged and capable of producing a clear SOS pattern.
Choosing Reliable Flashlights for Emergencies
Picking the right flashlight for emergencies is all about reliability. Look for models with high lumens (200-1000) for better visibility. A long beam distance ensures your signal can be seen from far away. Durability is key, too. Choose flashlights made from sturdy materials that can handle impacts and wet conditions.
Battery life is another critical factor. A flashlight with a long runtime ensures you won’t run out of power when you need it most. Compact and lightweight designs are easier to carry, especially during outdoor adventures. Brands like Fenix Lighting offer excellent options, such as the Fenix LR80R with 18,000 lumens or the Fenix PD40R V3.0, which is highly rated for emergencies.
Tip: Always test your flashlight before heading out. Make sure it’s fully charged and functioning properly to avoid surprises during a crisis.
Practical Tips for Flashlight Signaling
Selecting the Best Location for Signaling
Choosing the right spot to send your signal can make all the difference. Look for open areas where your flashlight beam can travel far without obstructions. A hilltop, a clearing in the woods, or the edge of a body of water are excellent options. These locations increase the chances of your signal being seen by rescuers or passersby.
If you’re in a dense forest or surrounded by tall buildings, aim your flashlight toward reflective surfaces like metal objects, windows, or even water. These surfaces can amplify your signal and make it more noticeable. At night, avoid pointing your light directly at the ground or into thick foliage, as this reduces visibility. Instead, direct it upward or toward the horizon for maximum reach.
Tip: If you’re signaling from a vehicle, use the roof or hood as a base to stabilize your flashlight and ensure it’s aimed correctly.
Maximizing Visibility in Different Conditions
Different weather and lighting conditions can affect how well your signal is seen. On clear nights, your flashlight beam can travel farther, so aim it toward the sky or open spaces. In foggy or rainy weather, keep your signal closer to the ground to reduce light scattering.
During the day, your flashlight might not stand out as much. In this case, try using reflective materials to enhance your signal. For example, you can shine your light onto a mirror or a piece of aluminum foil to create a brighter flash. If you’re near water, use the surface to reflect your signal toward potential rescuers.
Note: Bright, flashing lights are more noticeable than steady beams. Use rapid flashes to grab attention, especially in low-visibility conditions.
Practicing How to Signal SOS Before Emergencies
Knowing how to signal SOS with a flashlight is a skill you should practice before you actually need it. Start by familiarizing yourself with the SOS pattern: three short flashes, three long flashes, and three short flashes again. Repeat this sequence until it feels natural.
Here’s a simple way to practice:
Flash your light three times rapidly, keeping each flash under a second.
Follow with three slow flashes, holding each for just over a second.
End with three rapid flashes again.
You can also practice directing your signal toward a target, like a tree or a wall, to simulate real-world conditions. This helps you get comfortable with aiming and timing. Practicing regularly ensures you’ll stay calm and confident if an emergency arises.
Tip: Use flashlights with SOS features to practice. These models can help you understand the correct timing and pattern.
Preparing for Emergency Signaling
Keeping Flashlights in Your Emergency Kit
You should always have a flashlight in your emergency kit. It’s one of the most essential tools for signaling in the dark. Pack extra batteries too. If your power goes out or your phone dies, you’ll need a reliable light source to navigate or signal for help. A whistle is another must-have. Its loud sound can grab attention when rescuers are nearby but can’t see you. Together, a flashlight and whistle make a powerful duo for emergencies.
When assembling your kit, choose a durable flashlight with a long battery life. Store it in a waterproof bag to protect it from moisture. Keep the kit in an easy-to-reach spot, like your car or a hallway closet. This way, you’ll be ready to act quickly when an emergency strikes.
Maintaining Flashlights and Batteries
A well-maintained flashlight is your lifeline in emergencies. Start by using brand-new batteries and avoid turning the flashlight on until you need it. For lithium batteries, store them in a cool, dry place at around 3.7 volts. Check them every 6-12 months to ensure they’re still functional.
Inspect your flashlight regularly. Clean the battery contacts with a pencil eraser or emery board to remove dirt or corrosion. Lubricate the threads and o-rings to keep the flashlight watertight. Store spare batteries securely, away from anything that could cause a short circuit. These simple steps will keep your flashlight in top condition when you need it most.
Familiarizing Yourself with SOS Techniques
Learning how to signal SOS with a flashlight is a skill that could save your life. The SOS pattern is simple: three short flashes, three long flashes, and three short flashes again. Practice this sequence until it feels natural.
Here’s a quick way to teach yourself or even kids:
Flash the light three times rapidly.
Follow with three slow flashes.
End with three rapid flashes again.
Repeat the sequence toward a target, like a tree or wall, to simulate real-world conditions. Practicing regularly ensures you’ll stay calm and confident if you ever need to signal SOS in an emergency.
Tip: Use a flashlight with a built-in SOS mode to practice. It can help you understand the correct timing and pattern.
Flashlights are more than just tools for lighting up the dark—they’re lifesavers in emergencies. Knowing how to signal SOS with a flashlight can make all the difference when you need help. It’s a simple skill, but it could save your life.
To stay prepared, keep a reliable flashlight in your emergency kit. Look for one with high lumens, long battery life, and durable construction. Some even come with special modes like SOS or strobe for added functionality. Practicing how to signal SOS ensures you’ll be ready when it matters most.
Flashlights with unique light modes, like SOS, are designed to meet specific needs. They’re perfect for signaling assistance during emergencies.
By mastering this technique and keeping the right tools on hand, you’ll be ready to face any situation with confidence.
FAQ
What should I do if my flashlight stops working during an emergency?
Stay calm and check the batteries first. Replace them if you have spares. If the flashlight still doesn’t work, use alternative light sources like your phone or a headlamp. You can also create signals by reflecting sunlight with a mirror or shiny object.
Can I use my phone’s flashlight to signal SOS?
Absolutely! Your phone’s flashlight works well for signaling SOS. Just follow the same pattern: three short flashes, three long flashes, and three short flashes. Make sure your phone has enough battery life, and aim the light toward open spaces or reflective surfaces for better visibility.
How far can a flashlight SOS signal be seen?
The distance depends on the flashlight’s brightness (measured in lumens) and weather conditions. A high-lumen flashlight can be seen from several miles away in clear weather. In foggy or rainy conditions, the range decreases. Always choose a flashlight with a strong beam for emergencies.
Are there any alternatives to flashlights for signaling?
Yes! You can use headlamps, lanterns, or even reflective objects like mirrors to signal. During the day, sunlight reflection works well. At night, any bright, flashing light source can grab attention. Whistles or loud noises can also complement visual signals to increase your chances of being noticed.
How often should I practice signaling SOS?
Practice at least once every few months. Familiarity with the SOS pattern ensures you’ll act quickly in emergencies. Try practicing in different conditions, like at night or in fog, to build confidence. Regular practice makes the process feel natural when it matters most.
Tip: Turn practice into a fun activity with family or friends to make it more engaging!
See Also
Why Rechargeable Flashlights Are Vital for Community Safety
A Homeowner's Guide to Selecting the Ideal Emergency Flashlight
Why Hunting Flashlights Are Crucial for Outdoor Adventures
