Fixing Flashlight Problems: A Beginner's Guide
Ever grabbed your flashlight in the dark, only to find it’s not working? It’s frustrating, right? Flashlight problems can happen for many reasons, like dead batteries or loose connections. Don’t worry, though—you can fix most issues yourself with a little patience and know-how. Let’s get started!
Key Takeaways
Check your flashlight often for damage, rust, or loose parts to spot problems early.
Change batteries quickly and put them in the right way to avoid common flashlight issues.
Clean your flashlight and store it safely to make it last longer and work when needed.
Identifying Flashlight Problems
Inspect for Visible Damage or Issues
Start by giving your flashlight a quick look-over. Check for cracks, dents, or any other visible damage on the casing. These can let water or dust inside, which might cause problems. Look closely at the lens and bulb. Is the lens cracked or foggy? Is the bulb broken or loose? If you spot any of these issues, you’ve likely found the culprit.
Also, don’t forget to inspect the battery compartment. Corrosion around the terminals is a common issue. It looks like a white or greenish powder and can block the flow of electricity. If you see corrosion, clean it carefully with a cotton swab dipped in vinegar or rubbing alcohol.
Test Batteries and Connections
Sometimes, flashlight problems are as simple as dead batteries. Start by replacing the old batteries with fresh ones. Make sure you insert them correctly, matching the positive (+) and negative (-) ends to the markings inside the flashlight.
If adding batteries to the flashlight doesn’t work, check the connections. Loose or bent springs in the battery compartment can prevent proper contact. Gently adjust them back into place if needed. You can also use a multimeter to test the voltage of your batteries. This will confirm if they’re still good or need replacing.
How to Remove Dead Batteries from Flashlights
Removing stuck or corroded batteries can be tricky, but it’s doable with the right tools and safety precautions. Here’s what you’ll need:
Wear gloves and eye protection to stay safe.
Drill a small pilot hole into the stuck battery.
Use an old corkscrew or a coarse lag screw. Thread it into the battery about halfway.
If the battery is really stuck, heat the flashlight casing with a hair dryer or heat gun. This can loosen the corrosion.
Grasp the corkscrew or screw and pull the battery out.
Repeat the process for additional batteries if needed.
Dispose of the old batteries properly to avoid environmental harm.
Once the batteries are out, clean the compartment thoroughly. This will help prevent future issues.
Flashlight Repair for Common Issues
Fixing Battery-Related Problems
Battery issues are one of the most common reasons for flashlight problems. If your flashlight isn’t turning on, start by checking the battery installation. Make sure the positive and negative ends align with the markings inside the compartment. Short battery life? Use high-quality batteries and avoid running your flashlight on high modes for extended periods.
Leaking batteries can also cause trouble. Regularly inspect your flashlight for leaks and consider using leak-proof batteries. If you find corroded terminals, don’t panic. Here’s what you can do:
Put on gloves to protect your hands.
Remove the leaky battery carefully.
Dip a cotton swab in vinegar or lemon juice and scrub the corroded areas.
For stubborn spots, use a soft brush instead.
Wipe everything dry with a clean cloth before inserting new batteries.
This process will help restore proper connections and keep your flashlight running smoothly.
Resolving Switch Malfunctions
Switch malfunctions, like tail switch issues, can stop your flashlight from working. Dirt, corrosion, or bent contact strips are often the culprits. To fix this, disassemble the switch and clean the metal contacts with vinegar or isopropyl alcohol. If you notice bent components, gently adjust them to ensure a proper connection. Once cleaned and reassembled, your flashlight should work like new.
Addressing Dim or Flickering Light
Dim or flickering light can be frustrating. It’s often caused by a faulty connection, overheating, or even a burned-out bulb. Start by checking the bulb. If it’s loose, tighten it. If it’s damaged, replace it with a new one. Overheating can also dim LED lights, so avoid using your flashlight for long periods without breaks.
If the problem persists, inspect the battery voltage. High or low voltage can cause flickering. Replace the batteries if needed, and make sure they’re compatible with your flashlight.
Repairing Structural Problems (Water or Dust Ingress)
Water or dust ingress can damage your flashlight’s internal components. If your flashlight has been exposed to water, disassemble it and dry each part thoroughly. Use a soft cloth to clean the lens and bulb. For dust, use a small brush or compressed air to remove particles from the casing and internal parts.
To prevent future issues, check the O-rings and seals. Replace them if they’re worn out. A well-sealed flashlight will stay protected from water and dust, ensuring it lasts longer.
Preventing Flashlight Problems
Regular Cleaning and Maintenance
Keeping your flashlight clean is one of the easiest ways to avoid common issues. Dirt, dust, and corrosion can build up over time, causing problems with the lens, battery compartment, or switches. To prevent this, follow these tips:
Check the manufacturer's instructions for cleaning solutions.
Use a soft cloth to wipe the exterior and clean the threads.
Avoid spraying too much liquid on the lens to prevent damage.
Handle the lens gently and avoid abrasive materials.
Inspect the battery compartment for corrosion or debris.
Use a vinegar and water mixture to clean corroded battery contacts.
Let all parts air dry completely before putting the flashlight back together.
For flashlights you use daily, inspect and clean them monthly. For less frequent use, a bi-yearly check-up works fine. Regular maintenance keeps your flashlight in top shape and ready for emergencies.
Proper Storage Practices
Storing your flashlight properly can make a big difference in its lifespan. Keep it in a cool, dry place to avoid moisture damage. If you’re storing it for a long time, remove the batteries to prevent leaks. Use a protective case if you’re carrying it in a bag or toolbox. This prevents scratches and keeps dust out.
Avoid leaving your flashlight in extreme temperatures, like a hot car or freezing garage. These conditions can damage the batteries and internal components. Proper storage ensures your flashlight is ready to go when you need it most.
Timely Replacement of Batteries and Components
Replacing batteries and worn-out parts on time can save you from dealing with common issues. If your flashlight starts dimming or flickering, check the batteries first. Replace them with high-quality ones to ensure consistent performance.
Inspect the O-rings and seals regularly. If they’re cracked or worn, replace them to keep water and dust out. Don’t forget to check the bulb or LED. If it’s damaged or burned out, swap it for a new one. Staying on top of replacements keeps your flashlight reliable and extends its life.
Fixing your flashlight doesn’t have to be complicated. With regular maintenance, you can avoid most issues and keep it working like new. Here’s why preventive care matters:
Regular cleaning extends its lifespan.
Proper battery care prevents leaks and corrosion.
Safe storage protects it from damage.
Follow these steps:
Store it in a cool, dry place.
Clean the lens and exterior.
Handle it carefully to avoid drops.
By taking these simple steps, you’ll always have a reliable flashlight ready when you need it.
FAQ
Why does my flashlight keep turning off randomly?
Loose battery connections or a faulty switch often cause this. Check the battery compartment and tighten any loose springs or contacts.
Can I use rechargeable batteries in any flashlight?
Not all flashlights support rechargeable batteries. Check the manufacturer’s guidelines to ensure compatibility and avoid damaging your flashlight.
How do I know if my flashlight bulb needs replacing?
If the light is dim or flickering despite fresh batteries, the bulb might be burned out. Replace it with a compatible one for optimal performance.
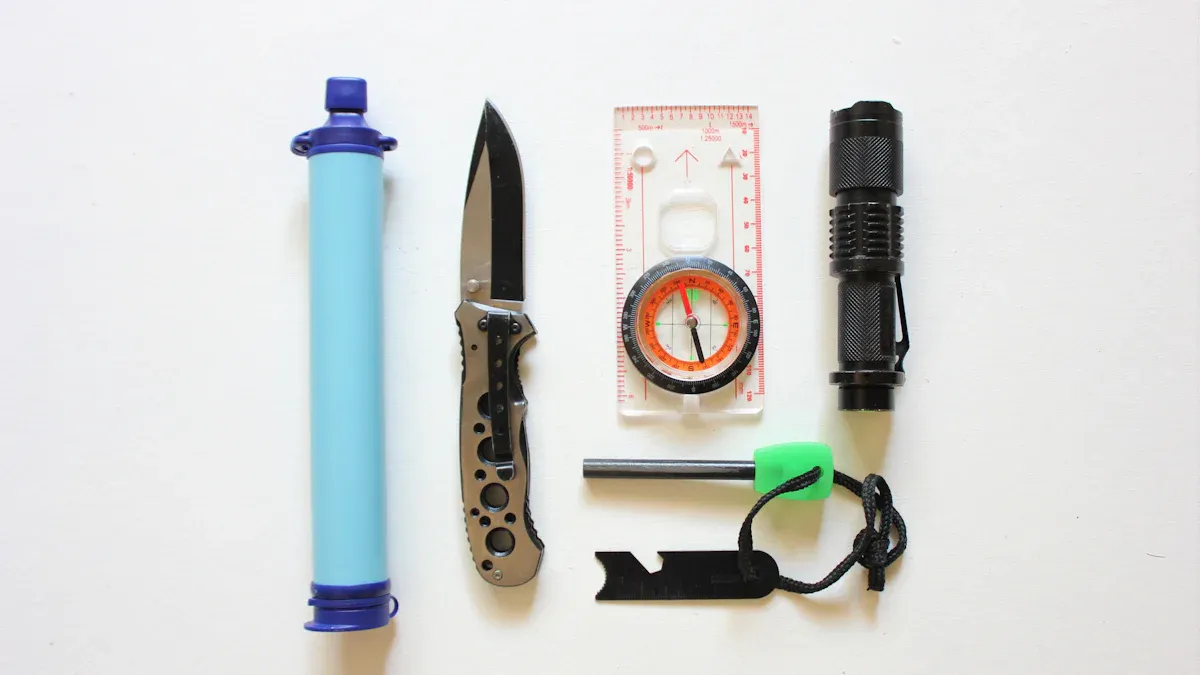
💡 Tip: Always carry spare batteries and bulbs for emergencies.
See Also
Key Strategies for Keeping Your Flashlight in Top Shape
A Complete Guide to Effectively Cleaning Your Flashlight
The Definitive Handbook for Maintaining and Cleaning Flashlights
Selecting the Perfect Flashlight for Your Home Needs
Understanding Flashlight Lumens: Your Complete Brightness Resource
