How to Clean Your Flashlight Lens Without Damaging It
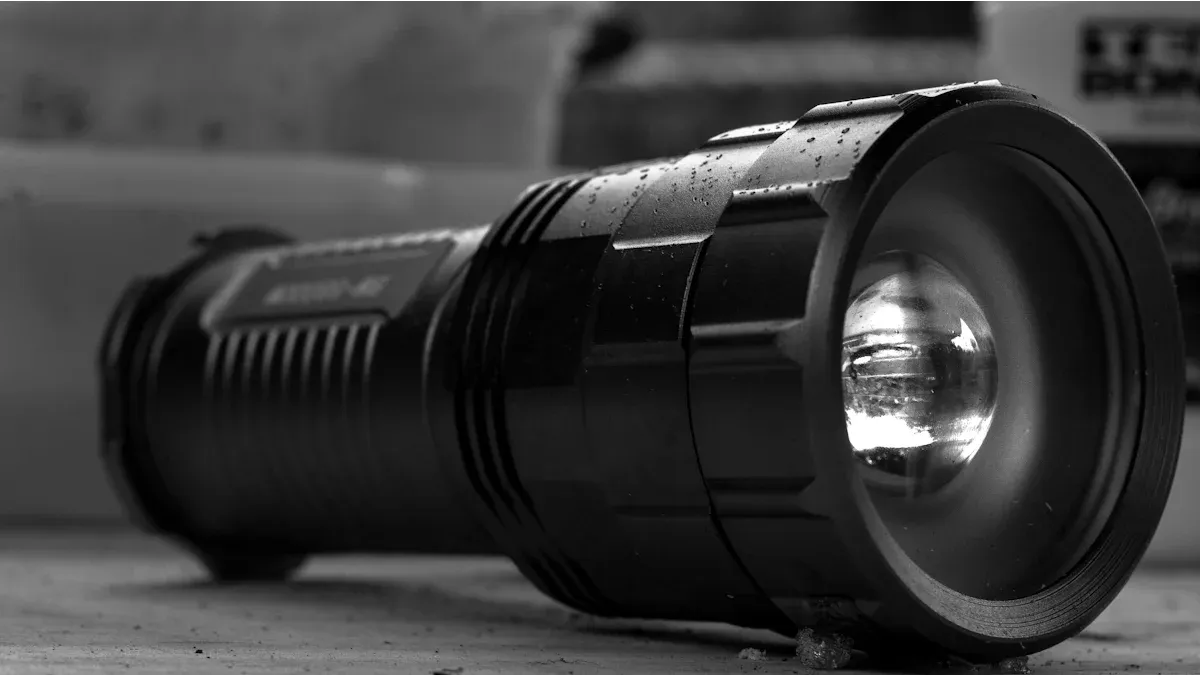
A clean flashlight lens ensures maximum brightness and clarity. Dirt or smudges can reduce light output and affect performance. You must use proper techniques to avoid scratches or damage. For your helius flashlight, regular cleaning keeps it reliable and efficient. Treating the lens with care extends its lifespan and maintains its effectiveness.
Key Takeaways
Use soft materials like microfiber cloths to clean the lens. This stops scratches and keeps it clear.
Check the lens for dirt or damage before cleaning it. This helps avoid making it worse while cleaning.
Clean your lens regularly. Clean monthly if used often or every six months if used less to keep it working well.
Tools and Materials for Cleaning Flashlight Lens

Essential Cleaning Tools
To clean your flashlight lens effectively, you need the right tools. Using improper items can scratch or damage the lens. Here’s a list of essential tools you should have:
Microfiber cloths for non-abrasive cleaning.
Lens cleaning chamois for delicate surfaces.
Dust puffers, often found in camera shops, to remove loose particles.
Cotton swabs for cleaning hard-to-reach areas.
A lens pen designed for optics cleaning.
These tools ensure you can clean your lens without causing harm. Always choose soft, non-abrasive materials to protect the lens surface.
Safe Cleaning Solutions for Your Lens
Selecting a safe lens cleaning solution is just as important as choosing the right tools. Some solutions can damage coatings or leave streaks. Use these safe options:
Eyeglass cleaning fluid labeled as "anti-reflective cleaning fluid."
Gentle lens cleaners specifically designed for AR-coated lenses.
Diluted dish soap mixed with distilled water for a DIY solution.
Isopropyl alcohol applied sparingly with a cotton swab.
When applying a lens cleaning solution, use a circular motion to avoid streaks. Avoid harsh chemicals that could degrade the lens coating.
Optional Items for Extra Care
For added protection and convenience, consider these optional items:
Lens covers to shield the lens from debris and moisture.
Blue painter's tape to prevent carbon build-up during training sessions.
These items reduce the frequency of cleaning and help maintain the lens in pristine condition. Investing in protective accessories can save you time and effort in the long run.
Step-by-Step Guide to Clean Your Lens
Inspect the Lens for Dirt and Damage
Before you start cleaning, inspect your flashlight lens carefully. This step helps you identify dirt, smudges, or potential damage. Follow these steps to inspect effectively:
Gently wipe the lens with a microfiber cloth to remove fingerprints or light smudges.
Use a lens cleaning solution designed for optical surfaces to tackle stubborn stains.
Avoid spraying liquid directly onto the lens. Instead, apply it to the cloth first.
Handle the lens gently and avoid abrasive materials that could scratch the surface.
Taking time to inspect ensures you address all issues without causing further harm.
Remove Loose Debris Safely
Removing dust and debris is essential before applying any cleaning solution. Use these techniques to do it safely:
Use a dry microfiber cloth to wipe away loose dirt.
Lightly dampen a corner of the cloth with a cleaning solution for better results.
Wipe the lens in a circular motion with light pressure.
For edges, use a cotton swab dipped in the cleaning solution.
This step prevents scratches caused by dirt particles during the cleaning process.
Apply Cleaning Solution Correctly
Knowing how to clean a lens with the right solution is crucial. Use a microfiber cloth to apply the solution gently. For sticky residues, a mild cleaning solution works best. Avoid alcohol on lexan lenses; instead, use eyeglass lens cleaner or a mix of dish soap and water. Always dampen the cloth lightly rather than soaking it. This cleaning technique ensures the lens remains streak-free and undamaged.
Wipe and Polish the Lens Gently
Polishing the lens restores its clarity. Use a clean microfiber cloth or lens cleaning chamois for this step. A lightly dampened cloth works better than a dry one to avoid scratches. Dust puffers can also help in removing dust from clean optics. For sticky spots, a mild cleaning solution may be necessary. Always wipe in a circular motion to achieve a polished finish. This final step ensures your flashlight lens is spotless and ready for use.
Avoiding Common Mistakes When You Clean Flashlight Lens
Avoid Abrasive Materials
Using abrasive materials is one of the most common mistakes when cleaning flashlight lenses. These materials can leave micro scratches on the surface, which reduces clarity and affects performance. Always choose cleaning tools approved for delicate optics, such as microfiber cloths or lens cleaning chamois. Avoid using paper towels, tissues, or any rough fabric, as they can damage the lens coating.
Before you clean your lens, blow off any dust or debris using a dust puffer. This step prevents particles from scratching the surface during the cleaning process. Never use a dirty portion of your cleaning cloth, as it may contain trapped debris that could harm the lens.
Prevent Excessive Pressure on the Lens
Applying too much pressure while cleaning can damage the lens or its coating. Use a light touch when wiping the surface. A microfiber cloth moistened with a safe cleaning solution works best. Never clean the lens dry, as this increases the risk of scratches.
For stubborn spots, gently dab the area with a damp cloth instead of scrubbing. If the dirt persists, repeat the process rather than applying more force. This method ensures the lens remains intact and free from damage.
Don’t Skip the Inspection Step
Inspecting the lens before cleaning is crucial. This step helps you identify dirt, debris, or corrosion that could affect functionality. Addressing these issues beforehand prevents further damage during cleaning.
Look for visible dust or smudges and remove them carefully. Regular inspections also help you spot potential problems early, ensuring your flashlight performs at its best. Skipping this step could lead to overlooked issues that worsen over time.
Tip: Always inspect your lens in good lighting to ensure you don’t miss any dirt or damage.
Preventive Maintenance for Helius Flashlight Lens
Proper Storage Tips
Storing your helius flashlight properly prevents damage and extends its lifespan. Follow these tips to keep it in excellent condition:
Store it in a cool, dry place to avoid damage from extreme temperatures or moisture.
Keep it away from direct sunlight, as prolonged exposure can degrade the materials and battery.
Remove the batteries if you don’t plan to use the flashlight for a long time. This prevents leakage or corrosion.
Use a protective case to shield it from dust and physical damage.
Proper storage ensures your flashlight remains reliable and ready for use whenever you need it.
Regular Cleaning Routine
Establishing a regular cleaning routine is essential to maintain the performance of your helius flashlight. For flashlights used frequently, clean your lens monthly. If you use it occasionally, cleaning every six months is sufficient.
When cleaning, inspect the lens for dirt or damage first. Use a microfiber cloth and a safe cleaning solution to clean your lens gently. Avoid abrasive materials or excessive pressure to prevent scratches. Regular cleaning keeps the lens clear and ensures optimal brightness.
Tip: A consistent cleaning schedule helps you avoid buildup and ensures your flashlight performs at its best.
Use Protective Covers or Cases
Protective covers or cases add an extra layer of defense for your helius flashlight lens. Choose from these options based on your needs:
Plastic covers offer impact resistance, making them ideal for outdoor adventures.
Glass covers provide superior optical clarity for an unobstructed light beam.
Colored lens covers enhance visibility in specific environments or serve signaling purposes.
Filter covers cater to specialized uses, such as infrared for night vision or UV for forensic work.
Using protective covers reduces the need to clean weapon light lens frequently and shields it from harsh conditions. This simple step ensures your flashlight stays in top condition for years.
Regular cleaning keeps your flashlight lens clear and functional. Use a microfiber cloth to remove smudges and dirt without scratching the surface. Follow these key practices:
Handle the lens gently and avoid abrasive materials.
Use cleaning solutions designed for optics.
Keep the lens free from dust and fingerprints for optimal performance.
With proper care, your flashlight will serve you reliably for years.
FAQ
How often should you clean your flashlight lens?
You should clean your flashlight lens monthly if used frequently. For occasional use, clean it every six months to maintain optimal performance.
Can you use regular glass cleaner on a flashlight lens?
Avoid regular glass cleaners. They may damage coatings on the lens. Use solutions designed for optics or a mix of dish soap and distilled water.
What should you do if your lens gets scratched?
If your lens gets scratched, use a lens repair kit designed for optics. For severe scratches, consider replacing the lens to restore clarity.
Tip: Always handle your flashlight lens with care to prevent scratches or damage.
See Also
A Comprehensive Approach to Flashlight Cleaning Techniques
Your Complete Handbook for Maintaining and Cleaning Flashlights
Key Strategies for Proper Flashlight Upkeep and Care
Maximize Your Flashlight's Lifespan for Extended Functionality
